One of the most anxiety-inducing scenarios for a homeowner is having frozen pipes. If your water pipes freeze, there is a larger chance for them to burst, which can be a huge and costly hassle to fix. That’s why you need to have an understanding of how to unfreeze pipes so you can confidently alleviate these issues and avoid them in the future.
This blog is full of many tips for frozen pipes, including what causes water pipes to freeze, how you can unfreeze them, and how to prevent this from happening again. By dealing with these problems right away, you can save yourself tons of money and reduce the risk of you losing water in your home.
What Causes Pipes to Freeze?
There are many reasons why your water pipes can freeze. You have no control over some of these causes, especially if they have to do with the weather. Others are issues that can be easily addressed. However, all of these problems are avoidable if you take the time to make the necessary adjustments to your home.
- Temperatures Below Freezing: While water freezes at 32 degrees, the water inside your pipes requires even lower temperatures to solidify. When the temperature outside hits 20 degrees or lower, there’s a risk of the water in your pipes freezing.
- Exposed Pipes in Unheated Spaces: Areas like attics, crawlspaces, and basements often lack consistent heating during winter. Pipes in these locations become susceptible to freezing as they don’t receive sufficient warmth throughout the day.
- Exterior Pipes: Pipes situated on the outside of your home face a higher risk of freezing, especially if they lack insulation or have cracks in the walls.
- Inadequate Insulation: Insulation is crucial not only for shielding your home and maintaining comfort in frigid temperatures, but also for preventing pipes from freezing.
- Drafty Areas Within the Home: Certain areas in your home may experience more drafts than others, leading to a higher likelihood of pipes freezing in those specific locations.
Are Frozen Pipes Bad?

Frozen pipes are by no means a good thing. If your pipes are frozen, it means that the water inside them froze. If the water inside the pipes is frozen, the entire pipe can burst. When that happens, your entire plumbing system will need to be shut off, and a professional plumber will have to repair or replace the pipes, which can take a considerable amount of time and money. That’s why, as a homeowner, it’s important to know how to prevent frozen water pipes.
How to Unfreeze Frozen Pipes
While frozen pipes can be intimidating, you don’t have to feel helpless. Follow these tips for thawing a frozen pipe:
Step 1: Locate the Frozen Section of the Pipe
If you find that turning on a faucet results in minimal or no water flow, it’s essential to conduct a thorough assessment of nearby fixtures to determine if water is flowing through them. The absence of water flow in adjacent fixtures may indicate a frozen pipe.
In cases where the piping is visible, thoroughly inspect for the presence of frost or condensation. Make sure you check the attics, basements, external wall cavities, crawlspaces, or any other space with inadequate insulation, as these are more susceptible to pipe freezing.
Step 2: Assess the Integrity of the Frozen Pipe
Depending on the duration of freezing, assess if the pipe is intact or damaged. If there is any visible damage or signs of leakage, take immediate action by shutting off the main water supply and promptly seeking professional assistance.
On the other hand, if no visible damage is evident, proceed cautiously with thawing attempts to ensure the pipe’s integrity remains intact.
Step 3: Activate Faucets Connected to the Frozen Pipe
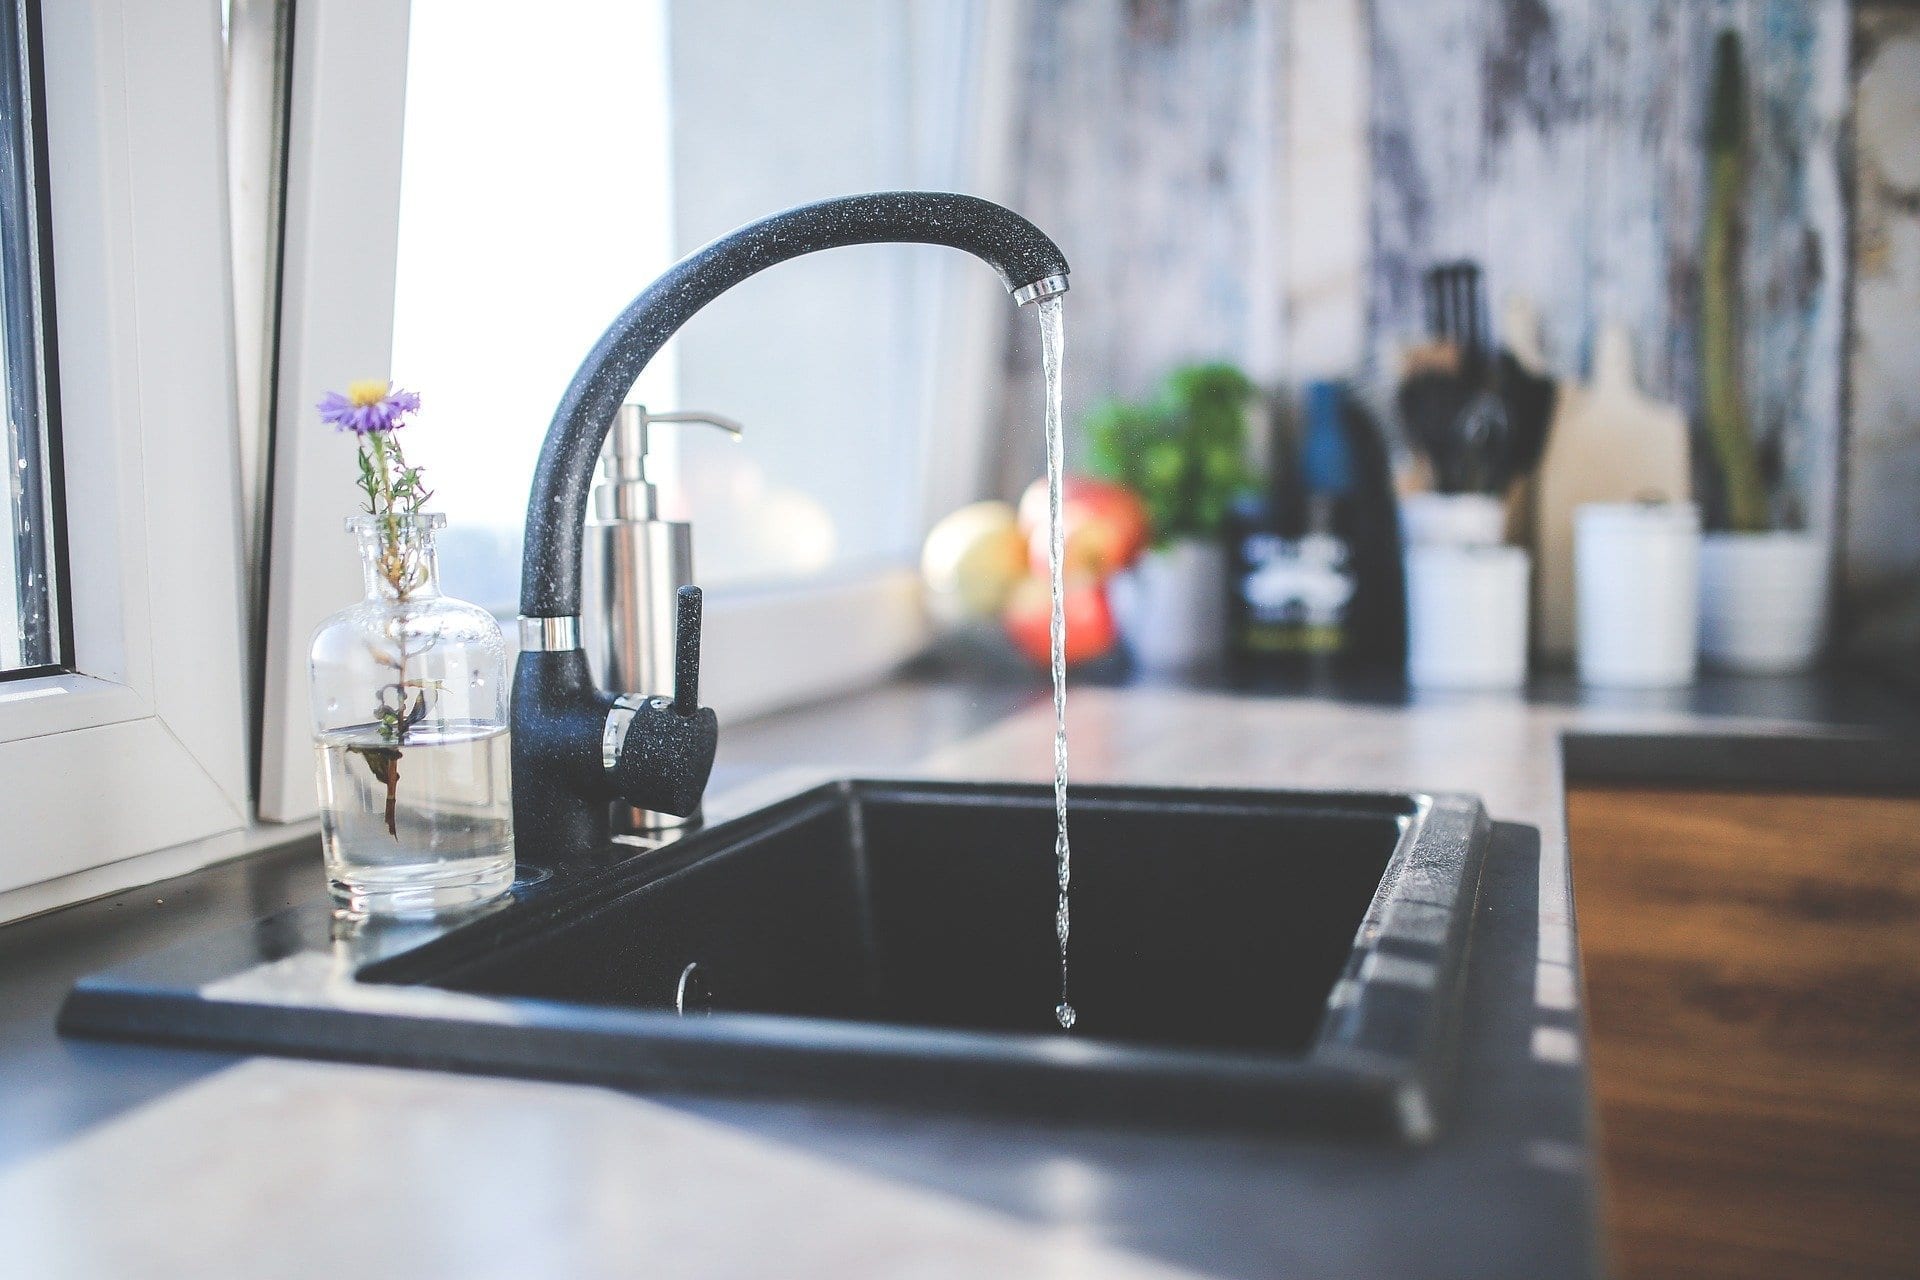
Open the faucets that are connected to the frozen pipe to actively observe and assess the thawing progress. This not only ensures a consistent flow of water as the ice begins to melt but also serves to minimize pressure buildup within the pipe, thereby significantly reducing the risk of potential pipe bursts.
It’s important to note that even a modest flow of water during this process plays a crucial role in expediting the melting of ice within the pipe, contributing to a more efficient resolution of the issue.
Step 4: Apply Heat to the Frozen Section
For both visible and hidden pipes, increase room temperature or use a hairdryer or a space heater for gentle heating. You will not want to use a blowtorch as this could lead to damaged pipes, a house fire, and other issues.
If this method is unsuccessful, you will need to reach out to a professional plumber who can safely inspect your pipe system to find the right solution.
How to Prevent Frozen Pipes
Need more frozen pipes tips? Here are ways to keep your pipes from freezing in the future:
- Let the Faucet Drip: Allowing a faucet to drip, even at a slow rate, helps prevent pipe-freezing by relieving pressure within the pipes. This continuous flow of water minimizes the risk of ice formation.
- Secure Loose Connections: Inspect and tighten any loose connections in your faucets and valves. Loose fittings can contribute to heat loss and increase the likelihood of frozen pipes.
- Seal Any Gaps: Identify and seal gaps in your home’s insulation and foundation. These gaps can allow cold air to penetrate, affecting the temperature of pipes. Proper sealing helps maintain a consistent temperature, reducing the risk of freezing.
- Update Insulation: Evaluate and enhance the insulation around pipes, especially in areas prone to freezing. Adequate insulation acts as a barrier against extreme temperatures, safeguarding pipes from the impact of cold weather.
If you need professional help with your frozen pipes, turn to Tiger Services, LLC. We provide frozen pipe services in Collinsville, Springfield, Bloomington, and Peoria, Illinois. Contact us to schedule an appointment with a skilled team who knows how to thaw frozen pipes.
Financing
Options
Winning Team


